Thursday, October 16, 2014

Shutters In The Dining Room

For about a year, I’ve been feeling that I need something on the wall in the dining area to flank the mirror I found at an estate sale. 

SONY DSC

The wall is big enough (and high enough) that it felt like it really needed something else along with the mirror and French signage.  I had considered transferware plates, tureen lids, server lids, some kind of framed botanicals or bird prints, and, finally, shutters.

SONY DSC

As you can see, I went with shutters.  Unfortunately, it has been raining here quite a bit so the pictures are not going to be the best.  After going around and around with the different options I finally decided on shutters and figured that I can always hang a plate, tureen lid, wreath, or picture on each shutter. 

SONY DSC

I think I can do more with the shutters here than if I went with any of the other options.  And, there is still enough room above the mirror to add three small plates,  if I wanted.  The shutters were also more readily available.  I was able to find this pair at the antique mart where I used to have my booth.  

SONY DSC

Also, in their favor, they are affordable; I paid $24.00 for these.  I also picked up a sample pot size of CeCe Caldwell Vintage White, which they happen to sell there, too.  I am going to add a wood embellishment to the tops.

SONY DSC

Meanwhile, I hung them up to get a feel for how they would work in the space and I am liking how they look here.  The blue is so pretty ~ kind of faded and the insert is a couple of shades darker than my wall.  Not too keen on that color though. 

SONY DSC

I took one of the thin white shutters I have in our guest room and held it up against the wall before I bought these and white would work fine here.  I was concerned that white might disappear against this light beige wall color.

SONY DSC

I plan on adding the wood embellishment and painting them over the weekend.  I’m eager to see how they turn out!   

Tuesday, October 14, 2014

Some Fresh Looks

I got the latest Ballard Designs catalog and, contrary to what I normally do, I looked through it rather than putting it in the recycling right away.  I try not to look through catalogs anymore because I tend to order things that I wind up having buyer’s remorse about.

SONY DSC

The Ballard’s catalog is a weakness for me!  I love to look through the catalog for inspiration and sometimes an idea will pop out at me that I can copycat.  Of course, I wound up ordering a couple of things.  I thought a change to our dining area would be nice and ordered this burlap with jute fringe tablecloth. 

108 inch Fringed Burlap Tablecloth

Our dining table is 48” round so I couldn’t resist the sale price on this tablecloth.  Although, I will have to remove it when we are going to be eating at this table since it is dry clean only. 

SONY DSC

SONY DSC

The second thing I ordered was this indoor/outdoor rug, which was also on sale.  I put this down in the laundry room area. 

Antique Letter Indoor Outdoor Rug | Rugs | Ballard Designs

It will need a rug pad underneath to keep it from slipping, especially since the entrance to the house from the garage is here and that is the entrance we use.  Don’t need anyone slipping!  That’s on backorder, so for now we are being careful.

SONY DSC

SONY DSC

Excuse the mess ~ I was doing a bunch of laundry and just shoved things out of my way so I could put this rug down to see how it looked.

SONY DSC                        

I have one more thing I just want to get for the dining area.  I hope to have that by Wednesday and will share it with you later this week.  It is something I finally decided on after going over different options, so I’m excited to finally get it done!

Sunday, October 12, 2014

The Artist Behind The Etsy ~ Sideway Signs

button_edited-1

Being a part of the Etsy community, not only as a seller but as a customer, I have come across many talented individuals.  With this series, I hope to introduce you to some of these creative people, finding out where they find their inspiration, and a little bit more about them.

Before I introduce today’s artist, here’s a hint -

SONY DSC

When I put the gallery collage wall together in our small foyer/entry, I came across Carlton’s Etsy shop, Sideway Signs.  After seeing his New York sign I just knew I had to include one on my wall to reference where we came from, where we lived our whole lives, and a place we love. 

I have since been thrilled to see other signs Carlton has in his shop, which include subway signs ~ a nice reminder of being a commuter in my early working days, where the New York subway system was a part of my daily travels.  But please look at Carlton’s work for yourself and see what this talented young man can do!

Sideway.Signs.co

I'm 22 years old and I just graduated from college at Miami University down in Oxford, Ohio. I received my degree in fine arts with a focus in studio art, painting. I'm a very creative person, and love to make things, and work with my hands. I've never had a real job, I've just always done my own thing, doing side jobs or making and selling things. One of my friends in school told me about Etsy, so I gave it a shot. This was about 3 years ago, when I was doing home portrait drawings and started selling them on Etsy. I did alright, probably selling about 8-10 drawings. I really don't know how it happened but I started making wood signs and stenciling words onto them and thought it was pretty neat. I started off just doing city names, and the first day I put a sign up on Etsy I received a request for a custom sign. I was shocked and my parents could not believe it either. So from there I switched over from doing pencil drawings to making wood signs and painting them.
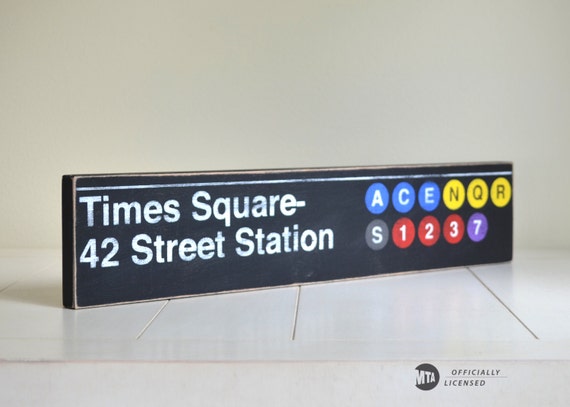
Times Square 42 Street Station Distressed Subway Sign - Hand Painted on Wood

I've always loved New York City and the whole atmosphere of the place, so naturally I drew inspiration from there. I stumbled into creating NYC subway signs (2 years ago), and they ended up being very popular on Etsy, so I made more and was doing quite well for myself creating some extra income while in college. Then I found out the signs were trademarked and I could not make them anymore, which was a real bummer. From then on my Etsy shop slowed down considerably. I stuck with it though making other signs and making enough money as a part time job as I finished up college. After I graduated college I was not sure what I wanted to do but I just did not want to look for jobs. I wanted to do my own thing. One day over the summer I woke up, and I thought I want to make the subway signs again and start a business doing it. I sent an email over to the MTA (Metropolitan Transit Authority) and said what I wanted to do and why they should grant me a license. After a lot of back and forth talking with them, licensing agents, insurance agents and months of work I was finally granted a license to create replica signs. For me this was a huge deal, I was extremely happy about it. I knew they would sell and I would not have to worry about competition because I was the only one who was allowed to make replica wood signs.
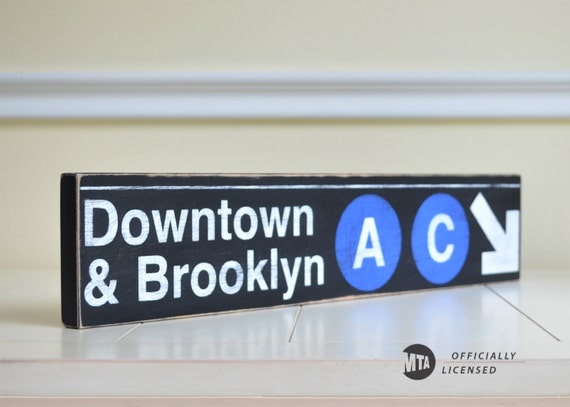
 Downtown & Brooklyn A C Line Distressed Subway Sign - Hand Painted on Wood

It's been about a month since I signed the contract and I've already had my best month this year on Etsy in terms of sales and views. Things were slowly turning around and for the first time I truly thought I could turn this into a successful business. Now it is just a matter of advertising and selling the signs. These are the best signs I have made so far and I have made a lot of improvements since the first few signs I started making 3 years ago. I guess the reason I wanted to recreate the signs was because they are such an iconic, well known design, and millions of subway riders in NY see them everyday. A lot of people have a stop they got off at for work everyday, or people travel there and they want a souvenir to remind them of their visit. Sure, there are a million little cheap plastic empire state building souvenirs to buy, but I was offering something else. Something that was a little more personal and they knew that I was making a sign just for them.
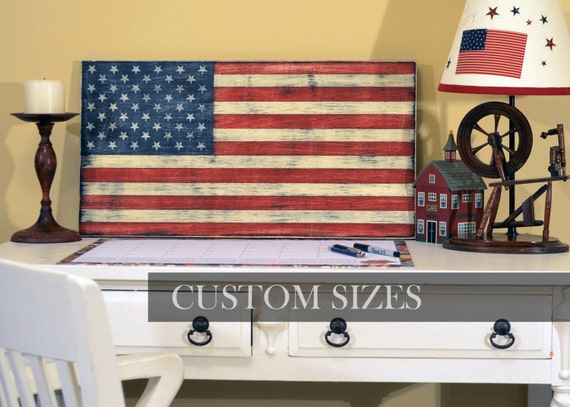
Distressed Wood American Flag - Hand Painted 

Most recently I discovered Kickstarter, which is essentially a place for people to post projects and get people to pledge money supporting their projects and in return they get something, usually a product. I was not sure what to expect with it but I gave it a try, and I met my goal of $5,500 dollars in 5 days and I am now over $9,000 with 25 days to go. So I've been blown away by my success on there, and now I've got hundreds of signs to make for Christmas for people all over the world. If nothing else, this proves they will sell and people want them. 
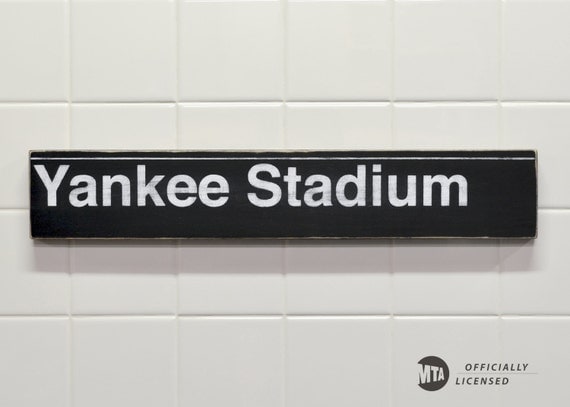
Yankee Stadium Subway Sign - Hand Painted on Wood

I think what really got me started with doing all this and making the signs was that I could take a raw material, such as the wood boards and turn them into something of greater value. I could sand the wood, paint it, paint on letters and turn it into something completely different. I just enjoyed the whole process of creating something for someone else, from designing it on the computer, making it, then shipping it out to them. 
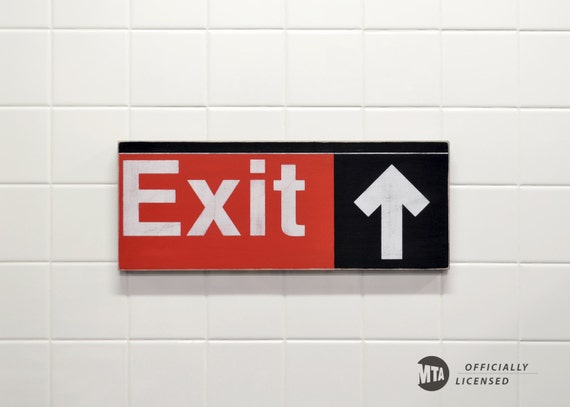
New York Subway Exit Sign - Hand Painted on Wood

A lot of my signs are relatively simple with bold text on a black background. I've always been interested in Graphic design and it is amazing how much the font can change a mood or feeling. Certain fonts people won't even take seriously while other fonts suggest money and power. I think my signs tend to lean more towards the serious side, bolder, modern and not as playful. I don't make the "kiss the cook" sign or the "live, love, laugh" sign. I don't want to make the cliche signs. 
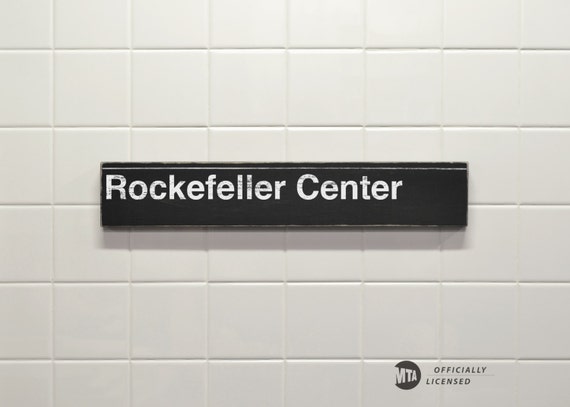
Rockefeller Center Subway Sign - Hand Painted on Wood

For me this is no longer a hobby. I really want to turn this into a successful business. I don't know what it will be like in a 5 years of even the next year, but I'm constantly coming up with new sign designs and there are 100's more subway signs I still have to make. 
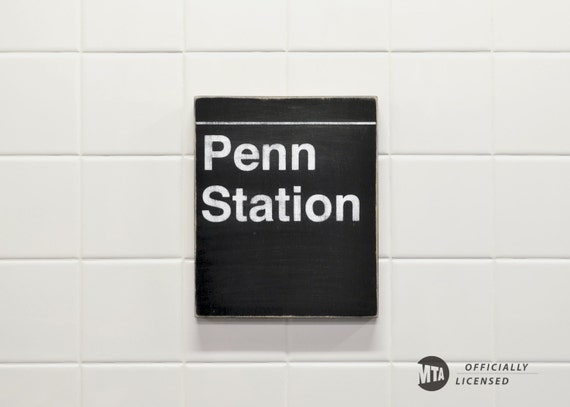
Penn Station Subway Column Sign Distressed - Hand Painted on Wood

I also have a website that I am working on, but is in the very early stages right now. - Sidewaysigns.com

Thank you, Carlton, for sharing your story! It sounds like you are off to a great start with a dream job ~ doing what you love and loving what you do.  You can visit Carlton’s Etsy shop here.

Thursday, October 9, 2014

Altered Altoid Tin ~ Potion Shop

SONY DSC

I’m so glad I painted all the Altoid tins I had saved in one shot during the Summer.  It made it easy to just grab one this past weekend to craft with.  Since I ordered a few more Halloween related supplies from Alpha Stamps, I decided to do another Halloween tin.

SONY DSC

This time I took one of the tins I spray painted orange.  I took the lid off and, using pliers, just crimped the latch pieces that held the lid on flat.  I added to the inside some left-overs of black and white scrapbook paper that I had.  This was a good project for those little bits that I tend to hold onto.

SONY DSC

I used one of the collage sheets I ordered the first time around and cut it to fit what would be the back part of this tin.  I adhered that (and the scrapbook papers) with craft glue.

SONY DSC

I had some orange trim and decided to put that around the edge of the tin.  I used hot glue for that.  I also used hot glue to add a “shelf” made out of a piece of cardboard to the inside of the tin.

SONY DSC

Meanwhile, while all this glue was drying, I took some little glass vial bottles that I had and added some sticker labels to them. 

SONY DSC

I also took the mini books I ordered and a book cover collage sheet and put two together that worked with the Halloween potion theme.  I used craft glue to adhere the covers to the books and used clothes pins to hold them until the glue dried.

SONY DSC

Once the tin seemed good to go, I used E6000 to glue it to a small wooden craft candlestick that I painted black.  It is stocked with the bottles, books and a couple of tiny pumpkins I recently ordered from Alpha Stamps.  For now I have everything just placed inside and not glued down. 

SONY DSC

I had fun crafting the two altered tins I did for Halloween.  In case you missed the last one, you can see that here.  I’m looking forward to making Winter and Christmas related tins next.

Tuesday, October 7, 2014

A Little Halloween

I added a little Halloween décor into the Fall mix!

SONY DSC

It is my birthday so I kind of have to!  Just like all the other holiday and seasonal décor I’ve been doing the past few years, I’ve kept it a lot simpler than what I used to do. 

SONY DSC

I showed you the mantel already with my little boy and girl busts wearing their fancy shmancy hats, but I added a little something in since then.

SONY DSC

I bought a banner from one of the Etsy shops I featured recently ~ Kathy Jacobson and I think the banner finishes the mantel off nicely.  I think with my black and white décor I could leave the banner up all year long.  Until Christmas anyway.

SONY DSC

I added in a witch I found at an estate sale last year.

SONY DSC

I love the detail in her face.

SONY DSC

I put the “Boo” sleeve on the black and white pillow on my sofa.

SONY DSC

A witchy hat that is one of my favorite pieces to put out for Halloween.

SONY DSC

I added a sign above the stove.

SONY DSC

Trick or Treat ~ that’s dinner. It could go either way when I’m cooking!

SONY DSC

Finally, this cute little guy whose head bobbles.  My granddaughter likes him and I put him on the counter near where she sits when she eats.

SONY DSC

That’s it for me for Halloween.  Sadly, we don’t get kids that come around to the condo community.  I found that out the first year we were here when I was the only one that had put a few outdoor decorations out and bought three big bags of candy.  Candy that I was then stuck with after Halloween!  So this little bit works out just fine for me.

Related Posts Plugin for WordPress, Blogger...